How to Make Tissue Paper Pom Poms Easy
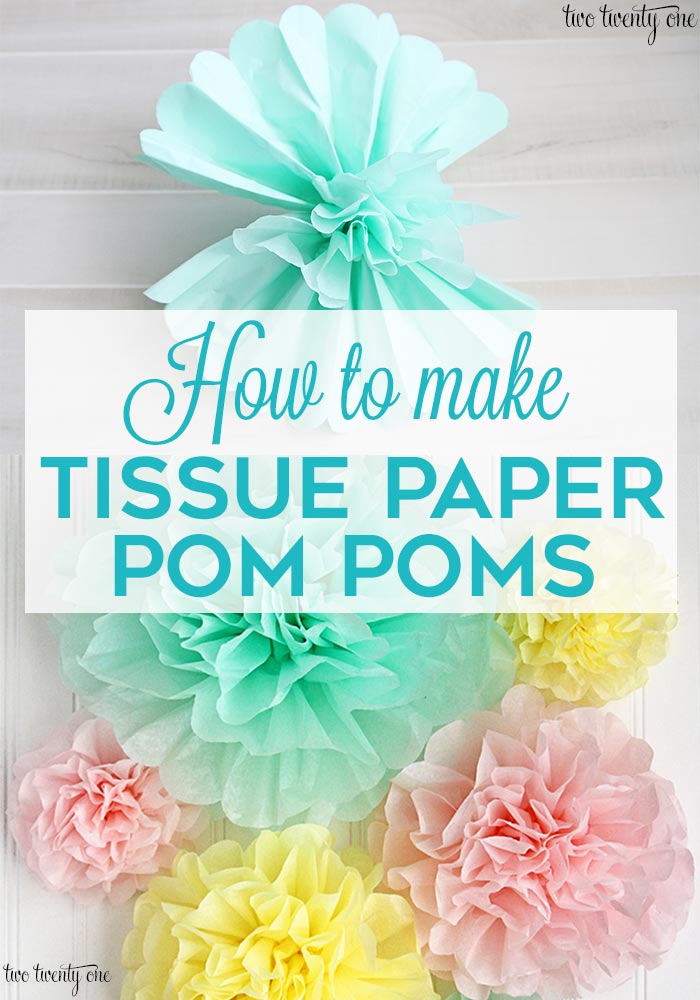
Step-by-step tutorial showing you how to make tissue paper pom poms! Tissue paper pom poms are the perfect, inexpensive party decoration.
After I posted our gender reveal party, many of you wanted a tutorial on how I made the tissue paper pom poms. Well, today's your lucky day– it's tissue paper pom pom making time, people.
Not only will I show you how to make tissue paper pom poms, I'm going to show you how to get 5 easy to make tissue paper pom-poms (1 large, 2 medium, 2 small) out of one $.99 package of tissue paper.
These are really easy to make once you get the hang of it. It's also a good mindless TV watching crafting activity. But you have to "watch" something you don't really have to pay attention to since you'll need to watch what you're doing with making the poms. I "watched" old Grey's Anatomy episodes on Lifetime while I made the majority of mine for the gender reveal party.

Supplies for Making Tissue Paper Pom Poms
tissue paper (I use 10 sheet, 20 inch by 20 inch)… Hobby Lobby
NOTE: Since publishing this tutorial, Hobby Lobby has changed the tissue paper to 8 sheets and $1.29 per package. Not cool, in my opinion.
floral wire
scissors
ruler
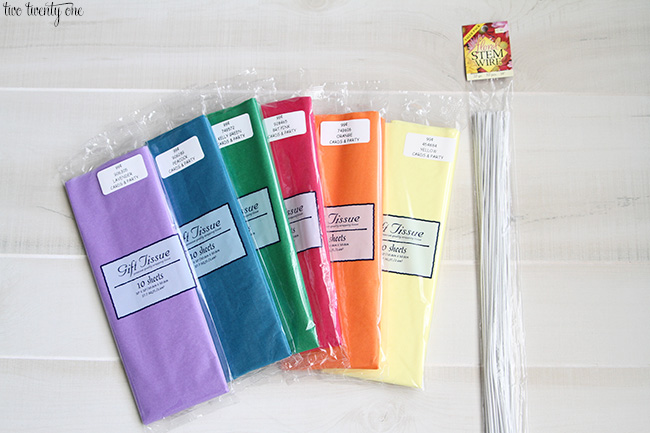
If you can't find 20″ x 20″ tissue paper that's fine. The standard size seems to be 15″ x 20″. You can still make tissue paper pom poms from that size, you just won't end up with the exact 5 pom poms that I was able to make.
How to Cut and Fold
Flatten out the tissue paper. Divide the 10 tissue papers into half– so 5 and 5 in each stack. Set one stack to the side.
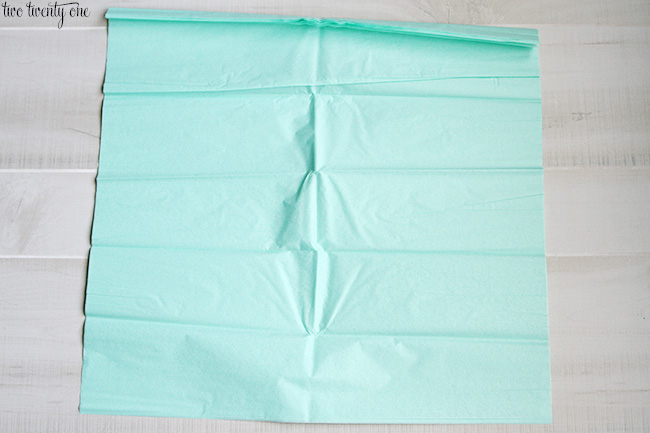
Fold the tissue accordion style.
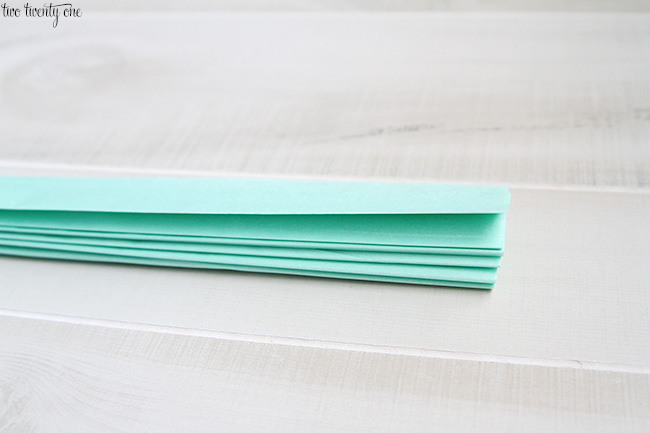
Once folded, cut the strip into two pieces. One should be 6 inches.
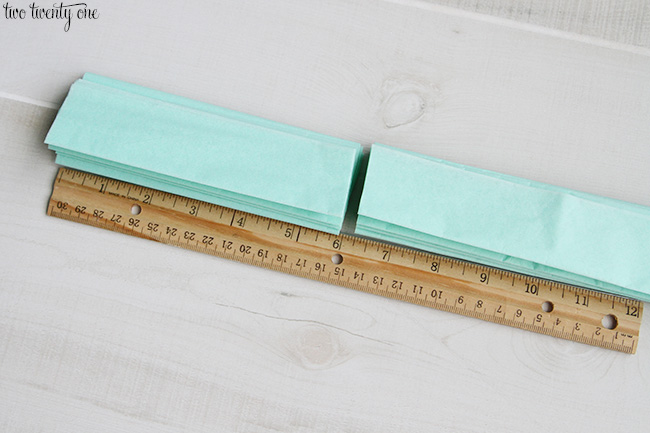
And the other should be 14 inches.
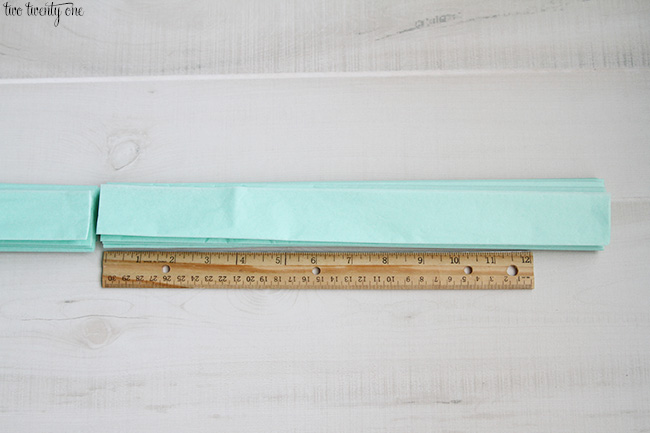
Take the 6 inch piece. Fold it in half hamburger style (if you don't know what I mean, Google "fold paper hamburger style").
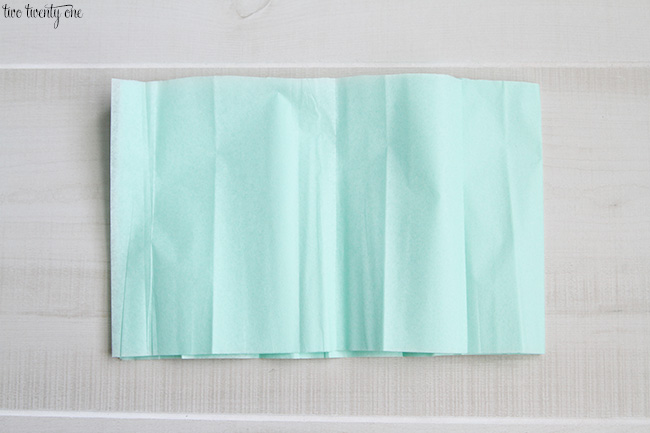
Cut it along the fold, so you will have two sections with 5 sheets of paper in each section. Since these will be the smallest pom-poms, I refold them, accordion folds style, only smaller than the original fold (see photo after the photo below).
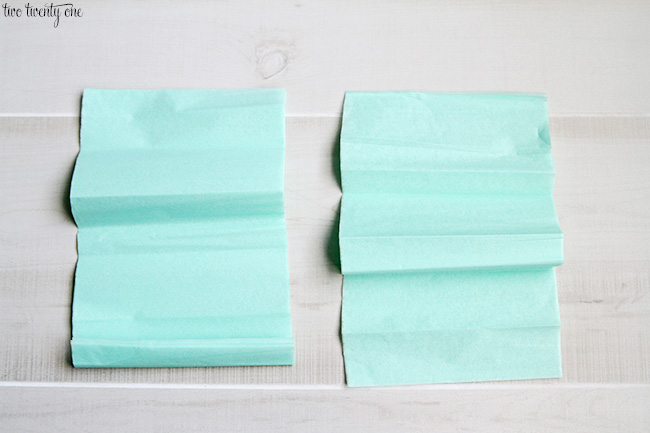
Grab the other remaining section that you put to the side in the beginning. Fold it accordion style. Cut it in half so you have two 10 inch pieces.
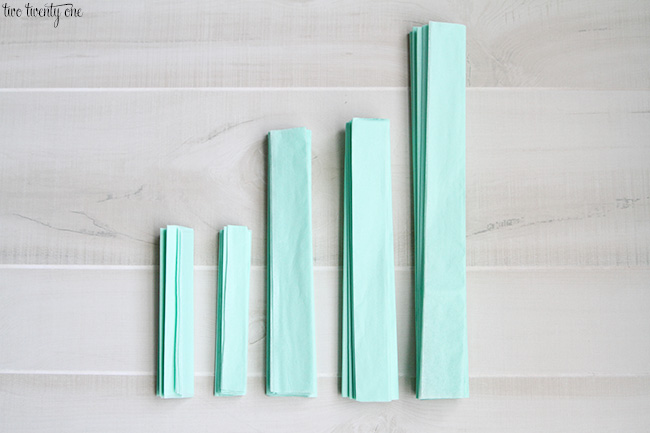
In the end, you should have the following from one package of 20 inch by 20 inch, 10 sheet tissue paper.
1- 14 inch
2- 10 inch
2- 6 inch
How to Secure and Fluff
The next steps are to be repeated for each section of tissue paper.
Grab your floral wire, center it in the middle of the tissue paper (use the ruler if you aren't good at eye balling– no shame).
FYI, you don't have to use floral wire. I actually used 22 gauge jewelry wire for the pom-poms I made for our gender reveal party because I was out of floral wire and didn't feel like running to the craft store for more. Just make sure your wire isn't too flimsy.
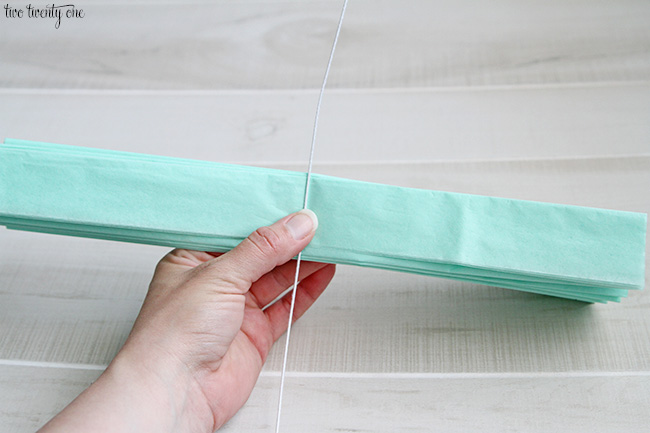
Twist the wire tight.
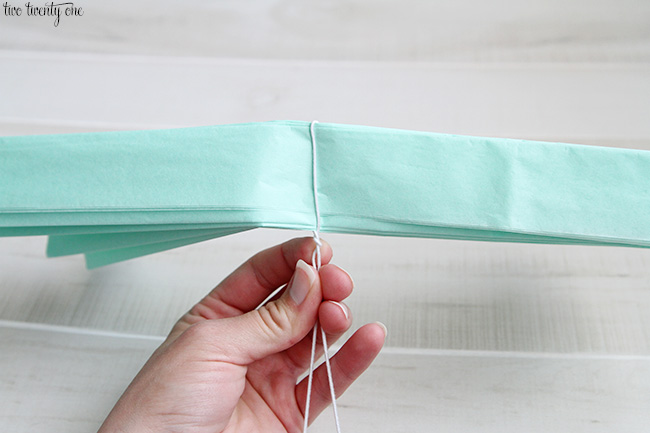
Then, grab your scissors and round out the corners of the tissue paper.
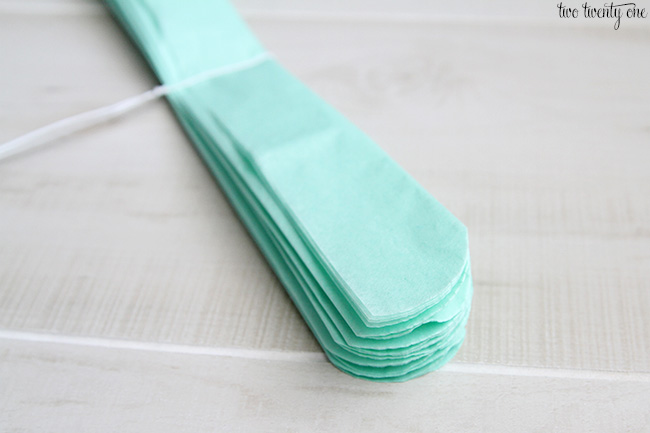
The end result should look like this when fanned out.
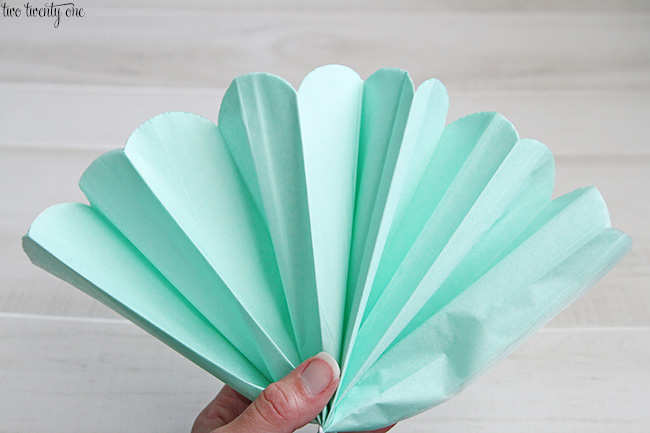
Start GENTLY, I repeat, gently pulling the top layer of tissue paper up and toward the center. Remember, this is thin tissue paper, not metal. It will rip if you're too forceful with it. It helps to start pulling at the bottom of the tissue paper layer, not the tip.
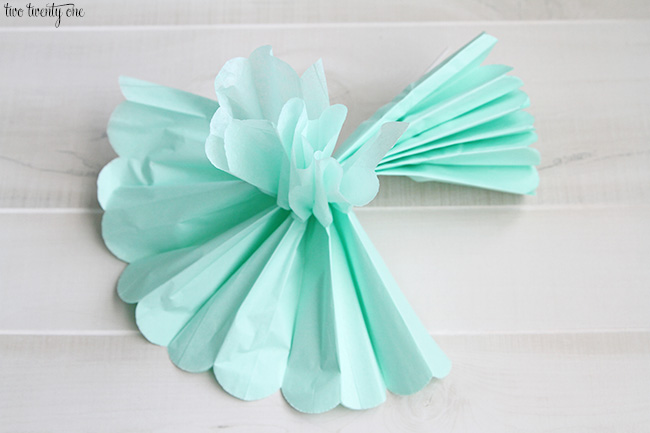
Next, bring the top layer of the other side up and to the middle.
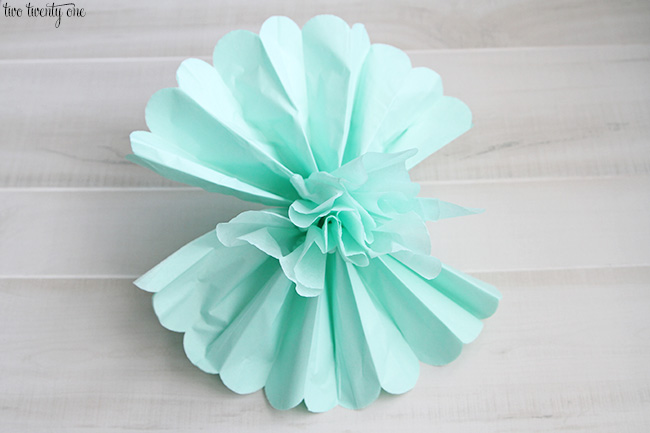
Now, repeat until all 5 layers are fluffed. Bend the wire so the tissue paper pom-pom lays flat. Cut if necessary. Or if you plan to attach the poms to something, leave the wire the way it is. You can just wrap the wire around whatever you're attaching the pom to.
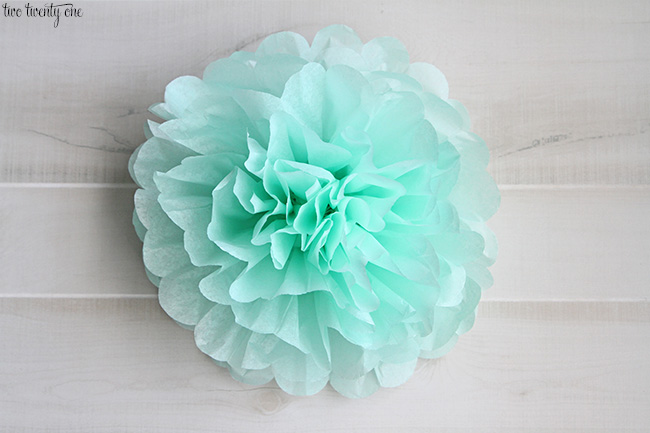
Note: If you happen to tear a piece of your pom-pom while making it, don't freak out. It's not the end of the world. A lot of the time it will just blend in. I usually grab my scissors and cut it a little so it doesn't look so jagged.
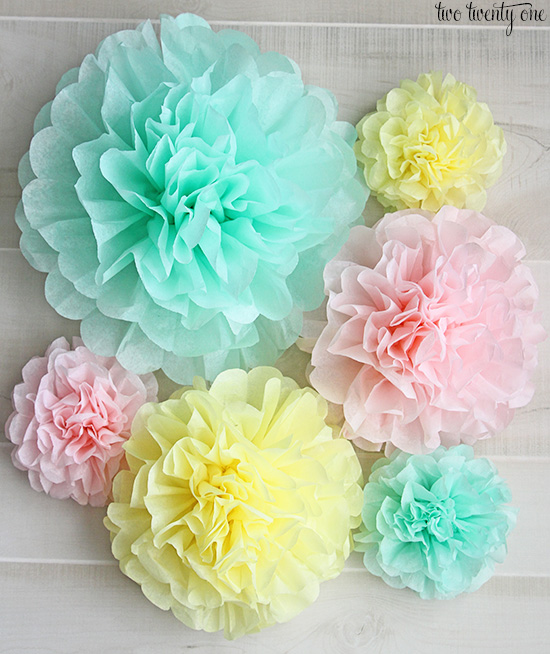
If you don't care about having varying sizes of poms, just make 4 medium sized poms. If you want fuller poms, use more than 5 layers of tissue paper.
Remember, practice makes perfect so don't get discouraged if your first couple pom-poms don't turn out correctly.
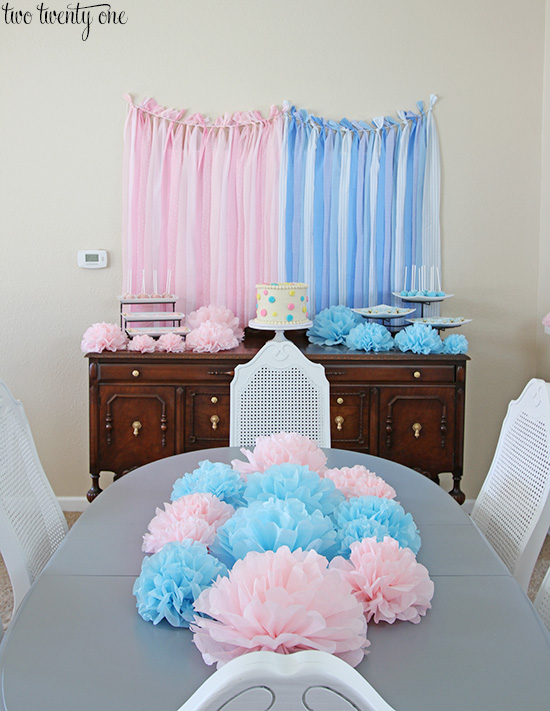
You can use the tissue paper pom-poms to decorate for a bridal shower, baby shower, wedding, birthday, or for any party decoration! The possibilities are endless. I used them on our dessert buffet and as a centerpiece for our dining room table. You can check out more photos of our gender reveal party here.
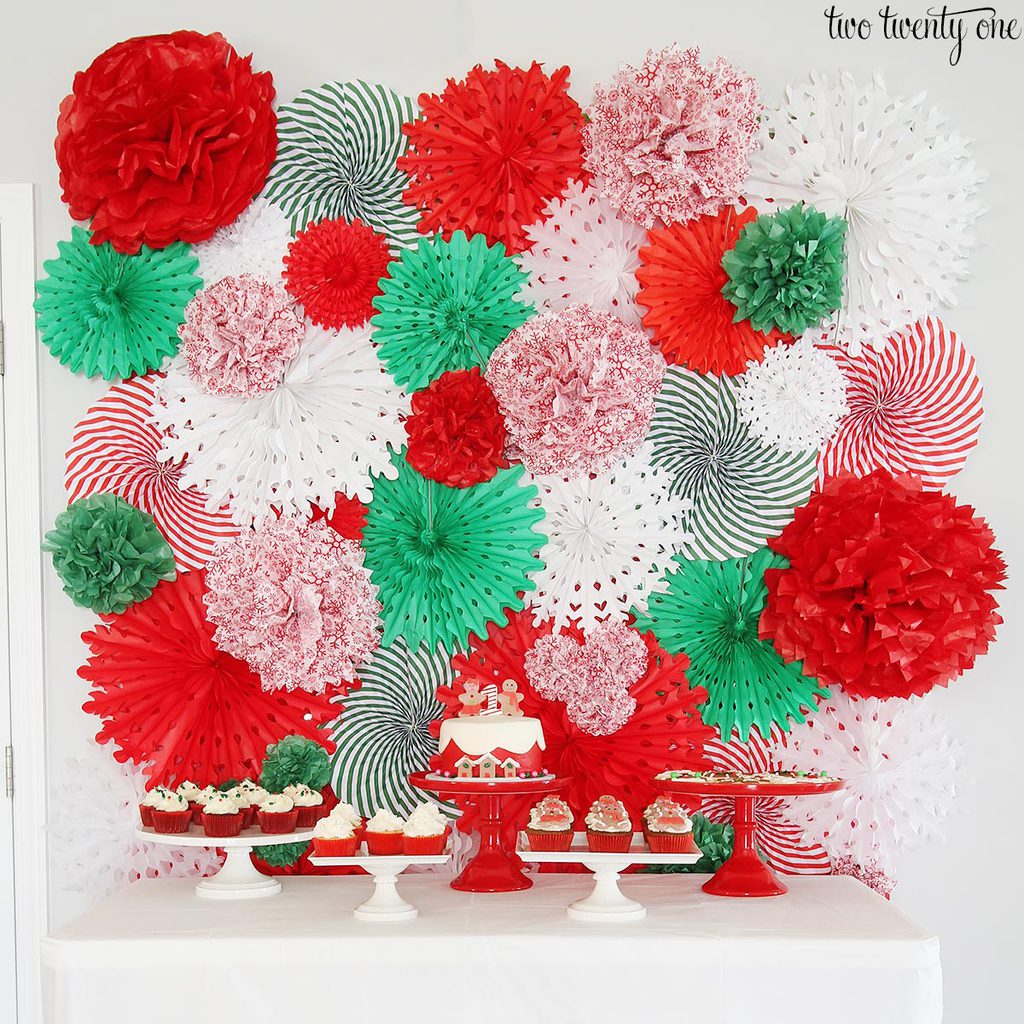
Find out how to make a tissue paper pom-pom and fan backdrop here!
Step-by-step tutorial on how to make tissue paper pom poms. Lovely and inexpensive party decorations!
Servings: 5 tissue paper pom poms
- 1 10 sheet package 20-inch by 20-inch tissue paper
- 1 package white floral wire
-
Flatten out the tissue paper. Divide the 10 tissue papers into half-- so 5 and 5 in each stack. Set one stack to the side.
-
Fold the tissue accordion style.
-
Once folded, cut the strip into two pieces. One should be 6 inches. And the other should be 14 inches.
-
Take the 6 inch piece. Fold it in half hamburger style (if you don't know what I mean, Google "fold paper hamburger style").
-
Cut it along the fold, so you will have two sections with 5 sheets of paper in each section. Since these will be the smallest pom-poms, I refold them, accordion folds style, only smaller than the original fold (see photo after the photo below).
-
Grab the other remaining section that you put to the side in the beginning. Fold it accordion style. Cut it in half so you have two 10 inch pieces.
-
In the end, you should have the following from one package of 20 inch by 20 inch, 10 sheet tissue paper.
1- 14 inch
2- 10 inch
2- 6 inch -
The next steps are to be repeated for each section of tissue paper.
Grab your floral wire, center it in the middle of the tissue paper (use the ruler if you aren't good at eye balling-- no shame).
-
Twist the wire tight.
-
Then, grab your scissors and round out the corners of the tissue paper.
-
Fan out the tissue paper on each side. Start GENTLY, I repeat, gently pulling the top layer of tissue paper up and toward the center. Remember, this is thin tissue paper, not metal. It will rip if you're too forceful with it. It helps to start pulling at the bottom of the tissue paper layer, not the tip.
-
Next, bring the top layer of the other side up and to the middle.
-
Now, repeat until all 5 layers are fluffed. Bend the wire so the tissue paper pom-pom lays flat. Cut if necessary. Or if you plan to attach the poms to something, leave the wire the way it is. You can just wrap the wire around whatever you're attaching the pom to.
If you happen to tear a piece of your pom-pom while making it, don't freak out. It's not the end of the world. A lot of the time it will just blend in. I usually grab my scissors and cut it a little so it doesn't look so jagged.
If you don't care about having varying sizes of poms, just make 4 medium sized poms. If you want fuller poms, use more than 5 layers of tissue paper.
Remember, practice makes perfect so don't get discouraged if your first couple pom-poms don't turn out correctly.
Want to save this post for later? Pin it here:

Source: https://www.twotwentyone.net/how-to-make-tissue-paper-pom-poms/
0 Response to "How to Make Tissue Paper Pom Poms Easy"
Post a Comment